
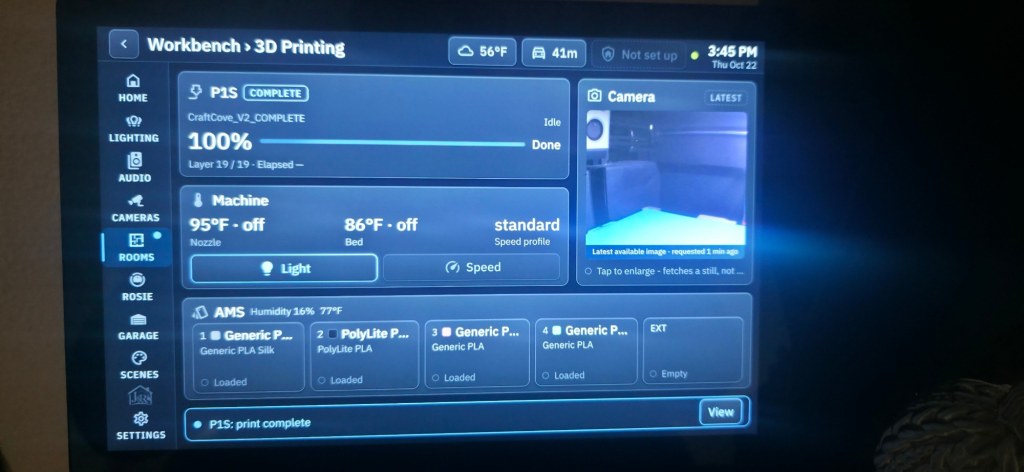
My Bambu Lab P1S gets heavy use, and I wanted it on the main touchscreen in the house. The easy version is a card with a progress bar and a couple of temperatures. The version I wanted had to be honest: if the printer didn’t know something, the screen shouldn’t pretend it did.
That turned out to be mostly a question of finding out what the printer really tells Home Assistant. This is how I did that, what surprised me, and the rules that came out of it.
At a glance
| Printer | Bambu Lab P1S with an AMS |
| Path | Printer, then the Bambu Lab integration in Home Assistant, then the touchscreen |
| Entities | About 70 across three devices (the printer, the AMS and the external spool) |
| On the panel | Job progress, temperatures, speed profile, chamber light, camera still and four AMS trays |
| Not on the panel | Pause, resume and stop (on purpose) |
1. Design the page before you have any data
I didn’t want to wait for a live print to start designing, so I built the printer page first with simulated values, every one of them clearly marked as simulated. That let me work out the layout and the rules without touching the printer at all.
The most important rule I wrote down at that stage: never make up a number. If the screen can’t show something truthfully, it shows nothing, or a dash.
2. Then look at what the printer actually reports
Seventy entities is a catalogue, not a design. Most of them are diagnostics, and I didn’t want to guess which ones mattered or transcribe them by hand.
So I ran a read-only discovery during a real print, which is the best possible time: every sensor has a live value. It made four read requests and sent no commands. I used a temporary access token kept outside the project and revoked it afterward. A comparison against an earlier read of Home Assistant picked out the printer’s entities as “new since the baseline,” so nobody had to guess their names.
3. What the evidence changed
The real data corrected my design in several places.
- Some things I’d assumed simply don’t exist. There is no chamber temperature, no AMS fault or status entity, no filament-low alert and no maintenance entity. My “AMS jam” screen, drawn before discovery, became a general printer-error screen, because any AMS problem can only reach Home Assistant through the printer’s own error flags.
- Remaining filament is often unknown. On spools without a tag, the remaining amount reads as unknown. That’s the exact case the “never make up a number” rule was written for. The screen shows nothing for it.
- A sensor’s name can mislead. One sensor named something like “control blocked” read on even though pause, resume, stop, speed and light entities all existed. Having an entity isn’t the same as being able to use it, so I tested nothing until I understood that flag.
- Small honesty details. Nozzle size and type are the printer’s configured values, so a manual swap might not show up. Remaining time arrives in decimal hours, times are in UTC, and elapsed time has to be calculated. And an “abnormal” SD-card reading during a perfectly healthy print must never raise an alert.
Because the interface only shows what Home Assistant has proven, none of this meant a redesign. It was a policy edit.
4. How it behaves on the panel
- It lives under the Workbench, not in the main menu. The main navigation was already full, and the printer is a workshop thing anyway.
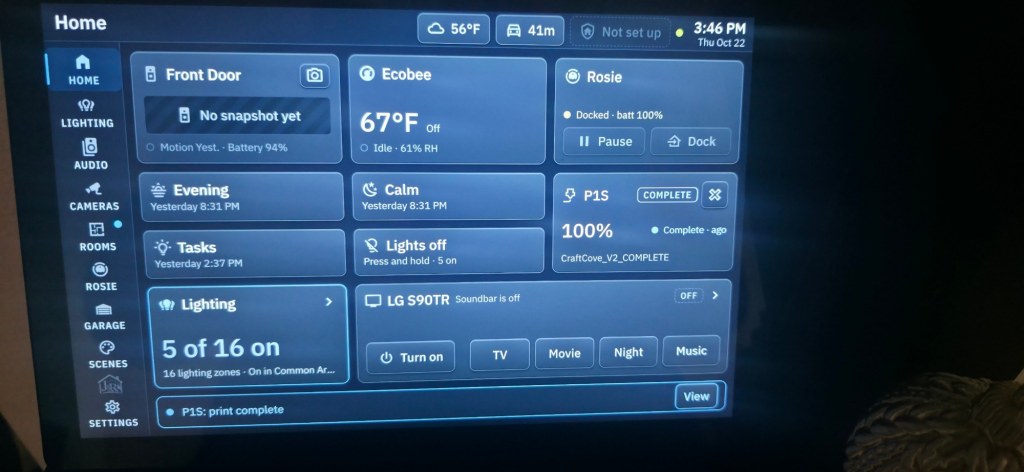
- It appears on Home only while it matters. When the printer is printing or needs attention, it takes over an existing tile slot, so the Home screen never reshuffles under your finger. When a print finishes, a COMPLETE tile stays up for two hours or until you dismiss it. Faults never expire on their own.
- The camera is a still, and a tap enlarges it. It fetches a snapshot rather than streaming, so it can’t dominate the Home screen.
- The AMS is four trays plus the external spool. Each shows its slot, whether it’s loaded, the material, the color and the spool name.
5. What’s deliberately not on the panel
I can turn the chamber light on and change the speed profile from the screen. I did not put pause, resume or stop there. Stop can’t be undone for a job, so for now those controls aren’t on the panel at all.
6. If you try this
- Do your discovery with a read-only approach and a temporary token you revoke afterward.
- Don’t publish or screenshot entity ids: with this integration they embed the printer’s serial number. I added a guard that fails my build if the serial ever appears in a project file.
- The printer’s own network screen shows its access code, so redact any photo of it.
- Check an address change everywhere that saved a copy of the old address, not just at the router.
If your printer reports more than mine does, a chamber temperature, say, this approach lets the page show it the moment Home Assistant can prove it.


Leave a Reply